

One of the main challenges in Docker is making the Docker image lightweight (keeping the image size down) as larger images can be difficult to maintain and manage. As each instruction in the Dockerfile executes, a new layer is added to the image, leading to larger image sizes.
To address this challenge, Docker introduced multi-stage builds in its latest release. In this article, we'll dive into the architecture of multi-stage builds in Docker and learn how to execute different tasks using this approach.
Challenges in Single-Stage Docker Builds
In the past, it was common to use a "builder pattern" with Dockerfile to build applications. This involved creating one Dockerfile for development that contained everything needed to build the application. Then, this Dockerfile was slimmed down for production use, so it only contained the application and the necessary components to run it.
To implement the builder pattern, we would write a Dockerfile that looked something like this:
FROM golang:1.17-alpine

WORKDIR /app

COPY go.mod go.sum ./
RUN go mod download

COPY . .

RUN go get -d -v golang.org/x/net/html \
  && CGO_ENABLED=0 GOOS=linux go build -a -installsuffix cgo -o app .

CMD ["./app"]
To keep the resulting Docker image size small, we would concatenate multiple RUN commands using the && operator. However, this approach is prone to failure and difficult to maintain, especially when the number of RUN commands increase. It's easy to forget to include the " " operator, which leads to larger image sizes on the local machine.
The recommended solution to solve these constraints is to employ multi-stage builds, which we will explore in the following section.
What Are Multi-Stage Builds?
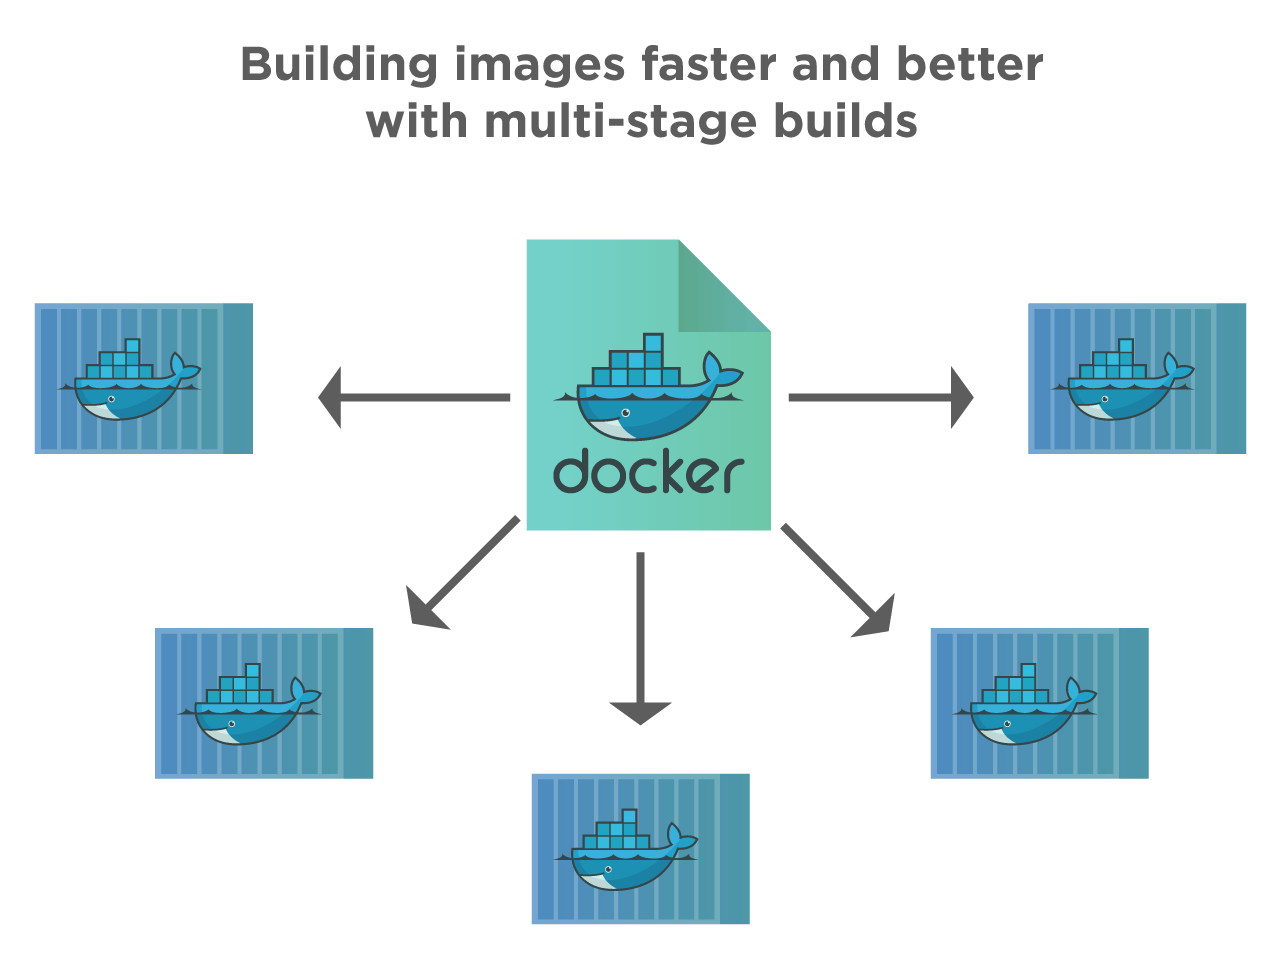
Multi-stage builds in Docker offer a practical approach to optimize Dockerfile organization, enhance container size efficiency, improve runtime performance, and establish a standardized method for executing build actions. This technique involves dividing a Dockerfile into multiple sections, each referring to a different base image. By adopting multi-stage builds, it becomes possible to achieve the same results that were previously accomplished using multiple Dockerfiles, transferring files between containers, or employing various pipelines.
For further in-depth information on the specifications of multi-stage Docker builds, it is recommended to consult the relevant documentation provided by Docker. This documentation serves as an excellent introductory resource to understand the concept of multi-stage builds. However, to gain a clearer understanding of its real-world application, let's explore an example.
Dockerfile for Multi-Stage Builds
Having understood the concept and benefits of multi-stage builds, let's proceed to write a Dockerfile for our example pipeline, which includes build, lint, test, static code analysis, dynamic code analysis, and deployment stages.
# Stage 1: Build
FROM node:latest as build
WORKDIR /app
COPY package*.json ./
RUN npm install
COPY src/ ./src
RUN npm run build

# Stage 2: Lint
FROM build as lint
RUN npm run lint

# Stage 3: Test
FROM build as test
RUN npm run test

# Stage 4: Static Code Analysis
FROM build as static-analysis
RUN npm run static-analysis

# Stage 5: Dynamic Code Analysis
FROM build as dynamic-analysis
RUN npm run dynamic-analysis

# Stage 6: Deployment
FROM nginx:latest as deployment
COPY --from=build /app/build/ /usr/share/nginx/html
EXPOSE 80
CMD ["nginx", "-g", "daemon off;"]
In the above example, the Dockerfile consists of six stages, each addressing a specific step in the example pipeline:
Build: This stage uses the
node:latestbase image and sets the working directory to/app. It copies thepackage*.jsonfiles, installs the dependencies withnpm install, and copies the source code from thesrc/directory. Finally, it builds the application usingnpm run build.Lint: The lint stage extends the build stage (
FROM build) and inherits the same working directory. It runs the linting process usingnpm run lint.Test: The test stage extends the build stage and runs the test suite with
npm run test.Static Code Analysis: This stage extends the build stage and performs static code analysis using
npm run static-analysis.Dynamic Code Analysis: The dynamic analysis stage extends the build stage and executes dynamic code analysis using
npm run dynamic-analysis.Deployment: The deployment stage uses the
nginx:latestbase image, copies the build files from the build stage (/app/build/) to the appropriate location in the Nginx server (/usr/share/nginx/html), exposes port 80 for incoming traffic, and starts the Nginx server.
By utilizing multi-stage builds, you can streamline the Dockerfile, separating each stage for specific tasks and ensuring an efficient and optimized container image for deployment.
The usage of named sections following the base image in each stage, denoted by "as," enables selective execution of individual sections. For instance, you can trigger the build stage alone using the command docker build --target build -t example-node:latest. Similarly, running lint tests can be accomplished with docker build --target unit-tests -t example-node:latest. When the application is ready for deployment, a regular container build command like docker build -t example-node:latest can be used. This approach empowers developers to swiftly obtain local results matching those obtained from a CI CD server while ensuring clarity regarding the specific command executed when a CI CD server triggers or builds a particular section. Additionally, it results in the generation of a compact and deployable image, enhancing the overall development experience.
Conclusion
Multi-stage builds involve using a single Dockerfile with multiple "FROM" statements to define different build stages.
These builds help in reducing the size of the final image created. In single-stage builds, each instruction adds a new layer, making the image larger.
With multi-stage builds, we can give a specific name to a stage, halt the build at a particular stage, utilize an external image, or switch between different stages.
I hope you found this article easy to understand. In the meantime, check out my other articles on Docker and DevOps below: